🌬️📸 When it comes to installing wind turbines in a wind farm, photo documentation is an absolute game-changer. 💡📸✅
Here’s a simple and easy-to-follow order for using photo documentation during your wind turbine installations:
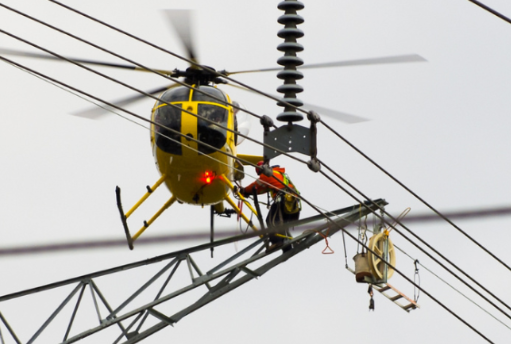
Start by taking photos of the designated area where the turbines will be installed. Capture the terrain, access points, and any potential obstacles. This will give you a clear visual record of the site conditions. Document the existing infrastructure, such as transmission lines or substations. These images will help you understand how to integrate the turbines into the existing system.
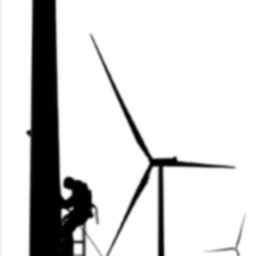
During the installation process, take photos of each step. Show the assembly and erection of the turbines, from the tower to the nacelle and blades. Don’t forget to capture images of your team working at heights and following safety protocols. Safety first!
Once the wind turbines are up and running, take photos of the completed installation. Showcase the majestic presence of the turbines on the landscape. These images will not only impress your clients but also serve as a visual proof of your work.
Finally, document the electrical connections and verify that the turbines are generating power. These photos will help you track the performance of the turbines and ensure everything is functioning as it should.


